How-to · US & Canada
Dish Photography for AR Menus: Angles, Lighting & Setup (2026 Guide)
How to photograph restaurant dishes for 3D AR menus: four essential angles, lighting, background, and mistakes to avoid, so BeforeTable WebAR looks appetizing on iPhone and Android.
2026-08-05 · 9 min read · BeforeTable
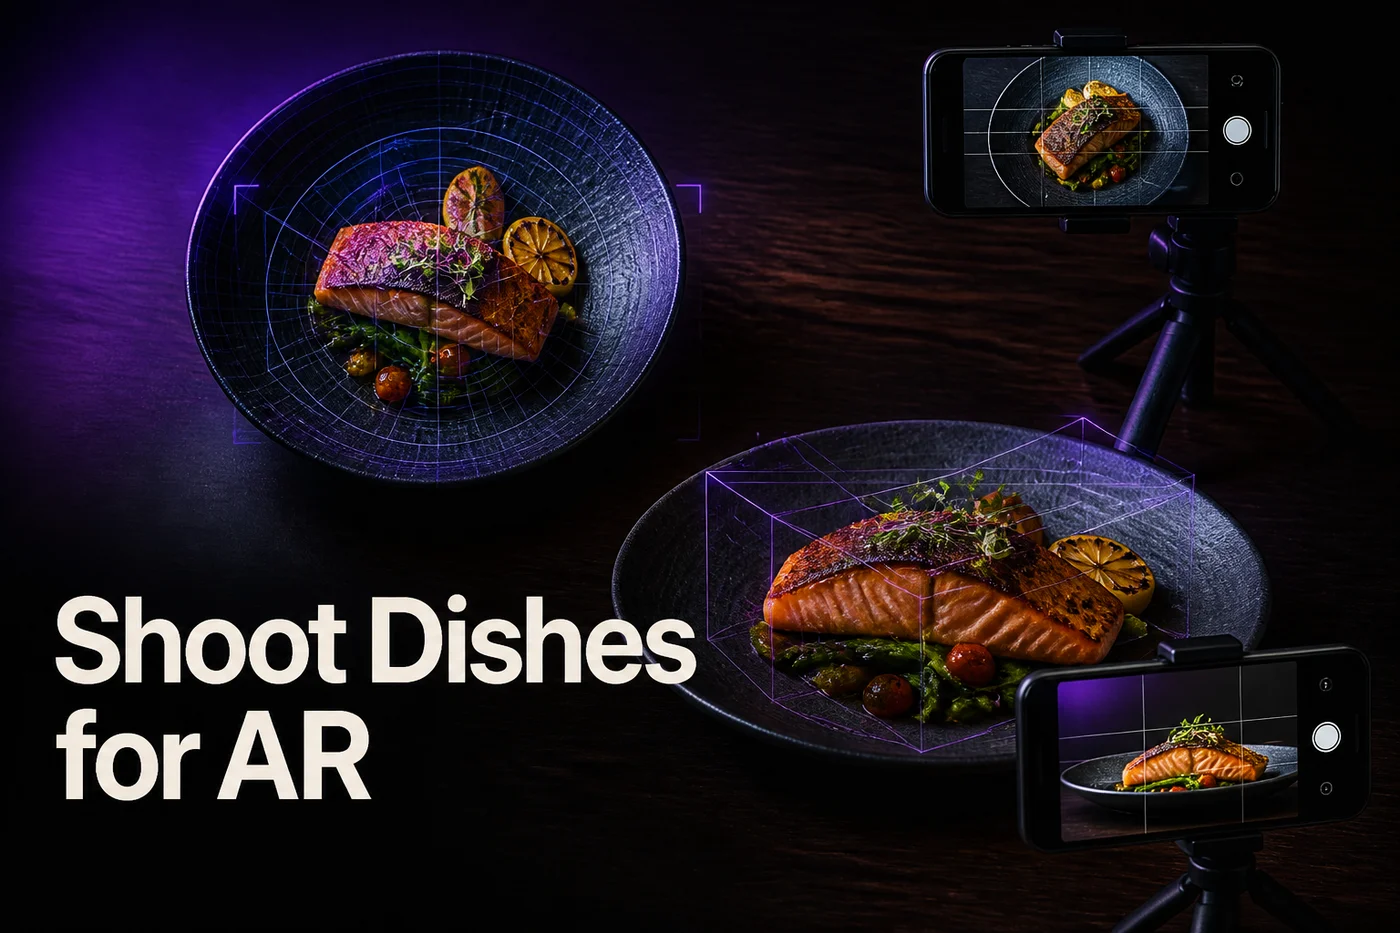
Why photography matters for AR restaurant menus
A 3D AR menu is only as good as the photos you start with. BeforeTable turns multi-angle dish photos into WebAR models guests open on Safari and Chrome, no app download. If your inputs are blurry, backlit, or shot from one angle only, the final model may look flat, mis-scaled, or dull on the table.
The good news: you do not need a studio. Independent restaurants in the US and Canada routinely produce strong AR assets with a phone, a clean plate, and ten minutes between prep and service. This guide covers the angles, light, and background choices that help your hero dishes look premium in browser AR.
The four angles every AR dish needs
Shoot at least four views per dish so the 3D pipeline has depth cues, silhouette, stack height, and sauce placement. Hold the phone at the same distance for each shot so scale stays consistent.
Front and side (eye-level profile)
Front shows what the guest sees when the plate lands. Side reveals height, layers, and stack (burgers, parfaits, layered cakes). Step back for wide bowls; move closer for tall desserts.
Top-down and three-quarter (hero angles)
Top-down captures plating layout and garnish. Three-quarter is the menu hero angle most guests remember. Avoid extreme wide-angle distortion at the plate edge; use the standard 1× camera when possible.
Optional detail shot
Capture one extra close-up if the dish has a signature element: cheese pull, cocktail foam, or a cross-section. Optional, but it helps craft teams nail materials in PBR look-dev.
Lighting: what works in a real kitchen
Soft, even light beats dramatic shadows for AR input. Natural window light on an overcast day, or a diffused LED panel at 45°, keeps proteins and sauces readable. Avoid mixing color temperatures (warm pendant + cool daylight) in the same series, it confuses texture reconstruction.
Watch for specular hotspots: glossy reductions, oily pasta, and glassware can blow out highlights. Tilt the plate a few degrees or raise the light rather than blasting brightness on the phone. If you shoot after dark, turn off colored mood lighting for the photo set only, you can relight the dining room before guests arrive.
White balance matters. Tap to expose on the food, not the table. A neutral gray card is optional; a clean white plate on a matte surface is often enough for our pipeline.
Background, props, and framing
Use a simple background: matte table, butcher block, or solid backdrop paper. Busy tablecloths, menus, and cutlery in frame add noise that can bleed into the model edges. Remove crumbs and water rings, they become permanent texture in 3D.
Center the dish with breathing room on all sides. Leave space for the AR “table placement” illusion; cropped rims look awkward when guests scale the dish on their phone camera feed.
Do not rely on filters or heavy saturation. Instagram presets that crush shadows will hide garnish detail you want in AR. Shoot neutral; let the dish’s natural color carry the frame.
Common mistakes (and quick fixes)
Single angle only. Fix: walk around the plate once, four minutes total.
Hand-held blur. Fix: rest elbows on the table or use a $20 phone tripod.
Steam and motion. Fix: shoot within 60 seconds of plating; re-plate if sag sets in.
Inconsistent portions across angles. Fix: build one hero plate and rotate it, do not rebuild between shots.
Mixed dishes in one upload batch. Fix: one product per item in BeforeTable; name files clearly (e.g. margherita-front.jpg).
Upload workflow on BeforeTable
Start Free at beforetable.com with three AR dish slots at $0. Create a category, add the dish name and price, then upload your angle set. When status shows Ready, open the guest preview on iPhone Safari and Android Chrome, the same path your diners use.
Starter ($20/mo USD) adds 15 AR products, custom QR codes, and priority processing when you move past the first three hero items. Growth ($200/mo) fits larger menus with 50 AR dishes plus analytics. Prove quality on Free before you upgrade.
Quick checklist before you hit upload
Four angles captured · even lighting · clean background · no filters · dish centered · files labeled · tested on one phone in browser AR. Ship three hero dishes this week, a signature main, a dessert, and a drink or appetizer, then print one table QR and watch the first guest reaction.
Frequently Asked Questions
How many photos do I need per dish for an AR menu?
At minimum four angles: front, side, top, and three-quarter. More clear angles usually improve 3D quality; one blurry photo is worse than skipping it.
Can I use old menu photos for 3D AR?
Only if they are sharp, evenly lit, and show multiple angles. Single flat hero shots from a PDF menu rarely produce good WebAR results, plan a quick reshoot.
Do I need a DSLR for BeforeTable?
No. Modern phone cameras work when lighting is soft and the phone is steady. Consistency across angles matters more than megapixels.
What dishes should I photograph first?
Pick three hero items you upsell: signature mains, desserts, or high-margin cocktails. Free plan covers 3 AR dishes, ideal for a proof-of-concept.
How long until my dish is Ready in AR?
Processing is typically measured in business days. Starter and Growth plans include priority AR processing versus Free.