How-to · US & Canada
How to Create an AR Menu for Your Restaurant in 2026
Step-by-step: photograph dishes, upload to BeforeTable, generate QR codes, and test WebAR on iPhone and Android, US & Canada restaurants.
2026-08-03 · 8 min read · BeforeTable
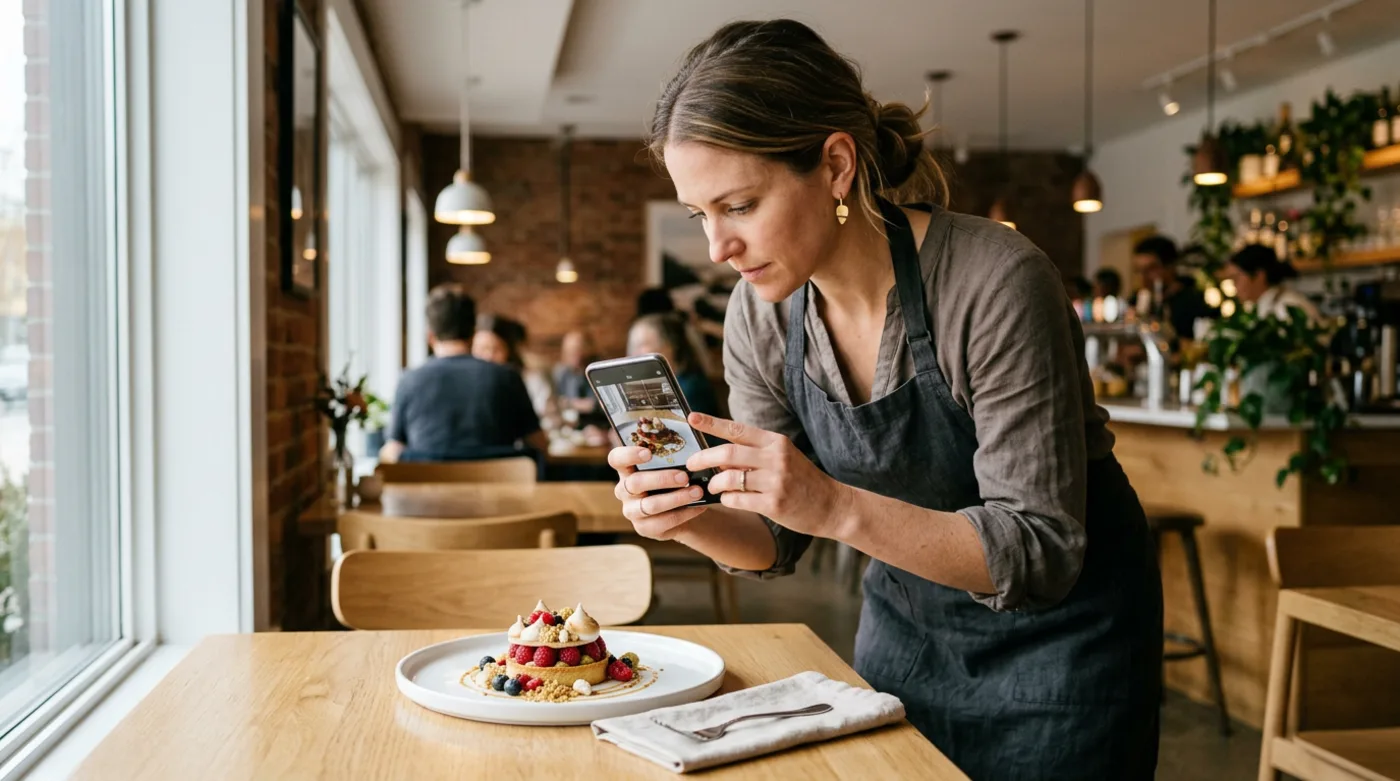
Step 1: Pick three hero dishes
Start with the items you upsell most: signature mains, desserts, or high-margin specials. Free plan covers 3 AR dishes, perfect for a proof-of-concept.
Step 2: Shoot the right photos
Capture front, side, top, and a 3/4 angle on a clean background with even lighting. Avoid heavy filters. Multiple clear angles produce better 3D results.
Step 3: Upload and go live
In BeforeTable, create categories, add products, and upload photos. When models are Ready, they appear for 3D preview and AR on guest devices.
Step 4: Print a table QR and test
Generate a QR for the dish or menu, print a table tent, and test on iPhone Safari and Android Chrome. Walk the guest path yourself before service.
When to upgrade to Starter ($20/mo)
When three hero dishes are not enough and you want 15 AR products, custom QR, and priority processing, upgrade to Starter at $20/mo USD.
Frequently Asked Questions
How do I start on BeforeTable?
Go to beforetable.com, click Start Free, create your restaurant, upload photos for up to 3 AR dishes, then print a QR for a table test.
What photos should I upload?
Front, side, top, and 3/4 angles on a clean background with consistent lighting. Several clear angles per dish work best.
How long until models are Ready?
Processing is typically measured in business days. Starter and Growth get priority AR processing versus Free.
Do I need different photos for iPhone and Android?
No. Upload once; guests use the same QR on Safari and Chrome for supported WebAR paths.
Can I update dishes after printing QR codes?
Yes. Keep the QR pointing at your BeforeTable link and update dish content online when plating or prices change.