Setup guide · US & Canada
How to Print a QR Menu Table Tent: Size, Design, and WebAR Setup for Restaurants in 2026
Print QR menu table tent guide for US and Canada restaurants: size, design, laminate tips, WebAR in Safari and Chrome, BeforeTable USD pricing, no guest app.
2026-08-13 · 8 min read · BeforeTable
Why print a QR menu table tent in 2026
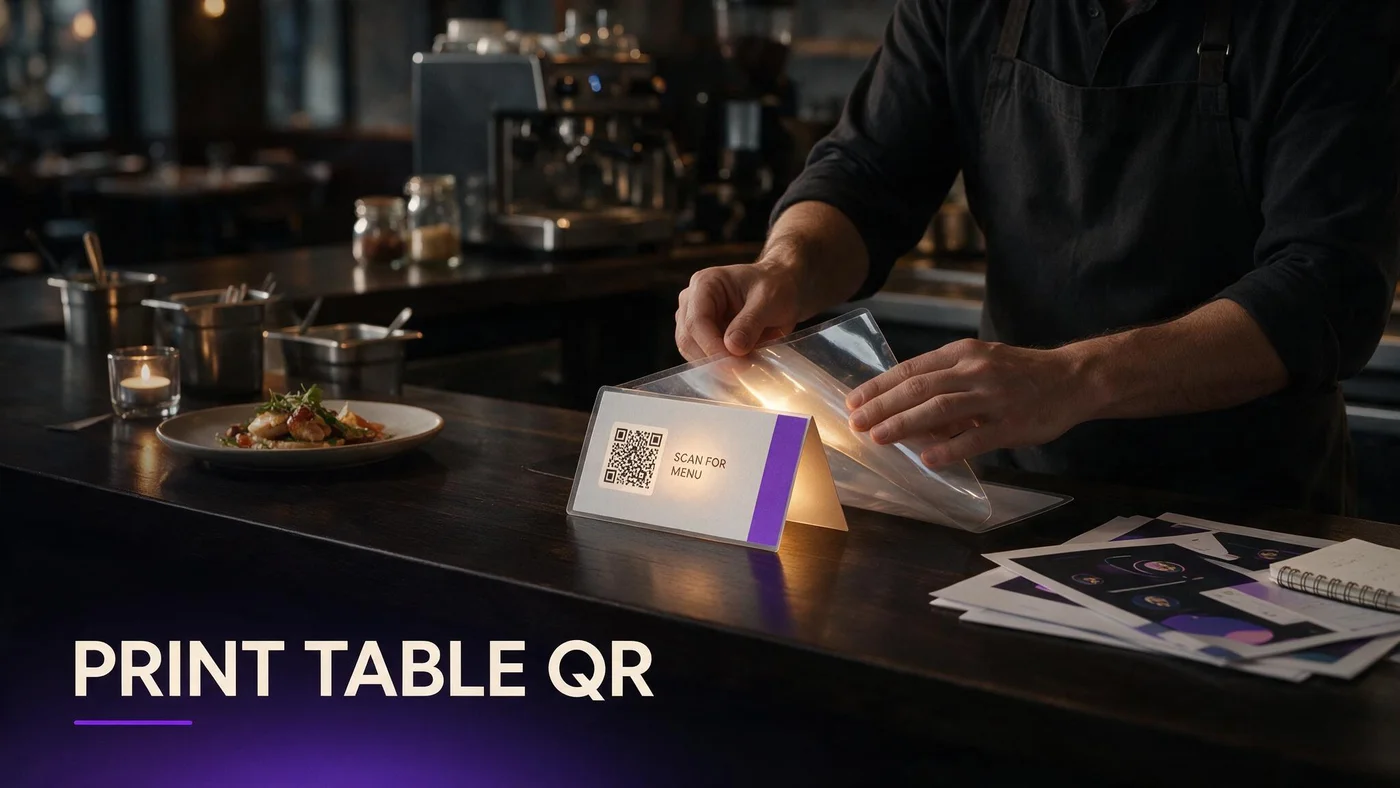
Print QR menu table tent cards remain the most reliable way US and Canada independents put menu access in front of every guest. Phones stay in pockets until someone scans. No server walk to hand a laminated book.
A printed tent also signals legitimacy. Guests trust a clean card on the table more than a URL shouted across a noisy room.
The tent is only the access layer. What matters is the mobile menu behind the code: fast text browse, clear allergens, and optional WebAR preview in Safari or Chrome without a guest app.
Print is cheap, retraining is expensive
One test run of fifty tents costs less than one shift of confused scan assists. Design once, iterate after a weekend of real scans.
Same tent works for WebAR upgrades
Point an existing QR design at a WebAR menu URL instead of a PDF. Same stock, upgraded landing page.
Table tent size and print specifications
Common sizes for US and Canada independents: 4x6 inch folded tent, 5x7 inch double-sided wedge, or 3.5x5 inch mini tent for tight two-tops. QR module should be at least 1.5 inches square on the printed face.
Export print files at 300 DPI with 0.125 inch bleed if your shop requires it. Use CMYK for offset runs and rich black only for large background fills, not the QR modules themselves.
Request matte laminate or matte aqueous coating. Gloss reflects pendant lights and patio sun into the camera lens.
Fold and base weight
Heavier cardstock or a small base prevents patio wind from folding the QR face away from guests.
Double-sided layout
Front: QR, brand, scan instruction. Back: short URL, Wi-Fi hint if needed, one line about 3D preview badges.
Design rules for scannable QR table tents
High contrast is non-negotiable. Dark QR on white or cream background scans fastest. Avoid busy food photography behind the code module.
Keep a quiet zone of empty margin around the QR equal to at least four modules on each side. Do not crop the code for aesthetics.
Headline in plain English: Scan for menu. Optional subline: Tap 3D dishes to preview. Skip jargon like WebAR on the tent unless your brand already educates guests.
Brand without breaking scan
Logo above or beside the code, not overlapping it. Purple accent lines match BeforeTable brand but stay outside the quiet zone.
Accessibility type size
Instruction text at 12pt minimum at print size. Older guests read the card before they scan.
Generating the QR link before you print
Create your menu in BeforeTable first. Wait for Ready status on hero dishes, then generate the menu QR from the dashboard. Download SVG or high-res PNG for the print file.
Use a stable menu URL so price edits happen in dashboard, not at the print shop. Setup guide: beforetable.com/blog/how-to-create-an-ar-restaurant-menu.
Test the generated code on iPhone Safari and Android Chrome before you approve the print proof.
Proof one physical sample
Print a single tent on office laser or copy shop before a run of two hundred. Scan from seated height under your actual lighting.
Short URL fallback
Add a readable short link under the QR for manual entry when camera apps fail.
WebAR setup after you print the table tent
WebAR does not change the tent design. It changes the landing page after scan. Guests open Safari or Chrome, browse text menu, tap hero tiles with a 3D badge, and preview dishes in the browser.
Browser paths: beforetable.com/blog/webar-menu-safari-chrome. No guest app: beforetable.com/blog/do-customers-need-app-ar-menu.
Definition and vocabulary for staff cards: beforetable.com/blog/what-is-an-ar-restaurant-menu.
Hero dishes only
Start with three WebAR heroes on Free tier. Full menu stays text for every other line.
3D badge clarity
Make 3D or Preview labels obvious on dish tiles so guests know which items rotate on screen.
Photography for dishes on printed QR menus
Strong WebAR starts with clean photos at consistent angles. Shoot front, side, top, and three-quarter views with even light on the plate you actually serve.
Angle guide: beforetable.com/blog/dish-photography-angles-for-ar-menus.
Upload through BeforeTable, wait for Ready, then drop the same menu QR into your tent artwork.
One plate per session
Multiple items in one frame confuse depth reconstruction and slow guest focus on preview.
Seasonal swaps
Swap hero uploads in dashboard when specials rotate. Tent QR stays the same if URL is stable.
Lamination, placement, and table durability
Matte laminate survives spill wipe-downs better than bare paper. Avoid reflective gloss that mirrors ceiling lights into the QR.
Center tent on four-tops. Use two tents on long communal tables. Keep codes out of direct candle heat and sauce splash zones.
Replace tents when laminate peels or QR surface scratches. A scratched module fails scans faster than faded brand color.
Patio and bar variants
Weighted bases for outdoor tables. Smaller wedges for narrow bar rails angled toward the guest.
Sanitize without solvent damage
Use mild sanitizer on laminate. Harsh solvents cloud the surface and scatter camera focus.
Pricing for printed QR tents plus BeforeTable (USD)
Print cost is usually cents per tent at local copy shops or online printers. Software side: Free is $0 USD for 3 AR dishes. Starter is $20/mo for 15. Growth is $200/mo for 50 plus analytics.
Full software breakdown: beforetable.com/blog/beforetable-pricing-explained.
Adding 3D to printed QR flow: beforetable.com/blog/qr-code-menu-with-3d-models.
When print budget beats software budget
Most independents spend more time choosing dish heroes than negotiating tent print runs. Plan slots matter more than cardstock grade.
Starter for seasonal menus
Fifteen WebAR slots fit quarterly rotations without redesigning tent artwork each time.
Staff script for printed table QR tents
Two lines only: Scan the QR for the full menu. Tap dishes with 3D to preview. I am here when you are ready to order.
Train staff to move tents out of glare, not to troubleshoot phone settings for five minutes during rush.
Keep a small paper menu stack for guests who decline phones. Allergy confirmations stay verbal.
Pre-shift tent check
Hosts verify every table has an upright tent with a clean QR face before doors open.
Honest preview
If kitchen plating drifts from the 3D hero, update photos. Guests notice mismatch more on previewed items.
People Also Ask: print QR menu table tent
Owners search tent size, print shops, laminate type, and whether WebAR needs new artwork. Eighteen FAQs below answer with USD pricing, Safari and Chrome facts, and no guest app paths.
Common print questions
What size QR on table tent? Matte or gloss laminate? How many tents per table? Use FAQ text that matches those strings.
Link related setup posts
Point body copy to how-to, pricing, photography, and WebAR pillars so AI search clusters print intent with your menu platform.
Print your first test tent this week
Upload three heroes to BeforeTable, generate QR, lay out one 4x6 tent in Canva or your print template, proof at the copy shop, test Safari and Chrome on Saturday lunch.
Print QR menu table tent projects succeed when scan reliability, browser preview, and kitchen output stay aligned. Expand print run after two busy services with stable scan assist rate.
Reuse the same menu URL on Google Business and social so guests who saw your tent online get the identical browser menu when they visit.
Frequently Asked Questions
What size should a QR menu table tent be?
Common sizes are 4x6 inch folded tents or 5x7 inch wedges. QR module should be at least 1.5 inches square with quiet margin around it.
How do I print a QR menu table tent?
Generate menu QR in BeforeTable, place high-contrast code on matte cardstock at 300 DPI, laminate matte, proof one sample, then run bulk print.
Matte or gloss laminate for QR table tents?
Matte laminate reduces glare from pendant lights and patio sun. Gloss often breaks camera scan reliability.
How much does it cost to print QR menu tents?
Print is typically cents per tent at local shops. BeforeTable Free is $0 USD for 3 AR dishes. Starter is $20/mo for 15. Growth is $200/mo for 50.
Do guests need an app after scanning a table tent?
No. BeforeTable WebAR opens in Safari or Chrome from the QR link. No guest app download.
How do I add WebAR to a printed QR tent?
Point the QR at your BeforeTable menu URL with hero dishes in Ready status. Tent artwork stays the same. Guide at beforetable.com/blog/qr-code-menu-with-3d-models.
What should table tent design include?
High-contrast QR, quiet margin, Scan for menu headline, optional short URL fallback, matte background without busy art behind the code.
How do I create the menu link for printing?
Upload dish photos to BeforeTable, wait for Ready, generate QR from dashboard. Steps at beforetable.com/blog/how-to-create-an-ar-restaurant-menu.
Which browsers should I test before printing tents?
Test iPhone Safari and Android Chrome from seated height at your tables. Those cover most US and Canada dine-in guests.
Can I update menu prices without reprinting tents?
Yes when QR encodes a stable BeforeTable menu URL and you edit prices in the dashboard.
What is WebAR on a printed QR menu tent?
After scan, guests preview selected dishes in 3D in the mobile browser. Definition at beforetable.com/blog/what-is-an-ar-restaurant-menu.
How do I photograph food for QR tent WebAR menus?
Shoot consistent angles with even light on service ware. Guide at beforetable.com/blog/dish-photography-angles-for-ar-menus.
How many QR tents do I need per table?
One centered tent per four-top or six-top. Long communal tables may need two tents so both ends scan easily.
Do customers need an app for AR table tents?
No. See beforetable.com/blog/do-customers-need-app-ar-menu for the browser-only guest path.
How does WebAR work in Safari and Chrome from a tent scan?
Guest scans, opens mobile browser, taps 3D dish tiles. Details at beforetable.com/blog/webar-menu-safari-chrome.
What if the printed QR will not scan?
Check glare, scratches, and contrast. Reprint if laminate clouds the module. Offer short URL fallback printed below the code.
Where is BeforeTable pricing explained?
See beforetable.com/blog/beforetable-pricing-explained for Free, Starter, and Growth USD plans.
Can I use the same QR tent for patio and dining room?
Yes. Same menu URL everywhere. Use menu sections inside the page if bar bites differ from dining entrees.
How many AR dishes can I preview on a printed tent menu?
Three on Free at $0 USD. Upgrade to Starter for 15 or Growth for 50 when rotations need more heroes live.
What is the first step to print a QR menu table tent?
Create BeforeTable account, upload three hero dishes, generate QR, design one test tent, scan proof on iPhone Safari and Android Chrome before bulk print.